How to Plan a Class Reunion: A Complete Step-by-Step Guide
From forming a committee to sending invitations, managing RSVPs, and finding lost classmates — everything you need to plan a class reunion people will actually attend.
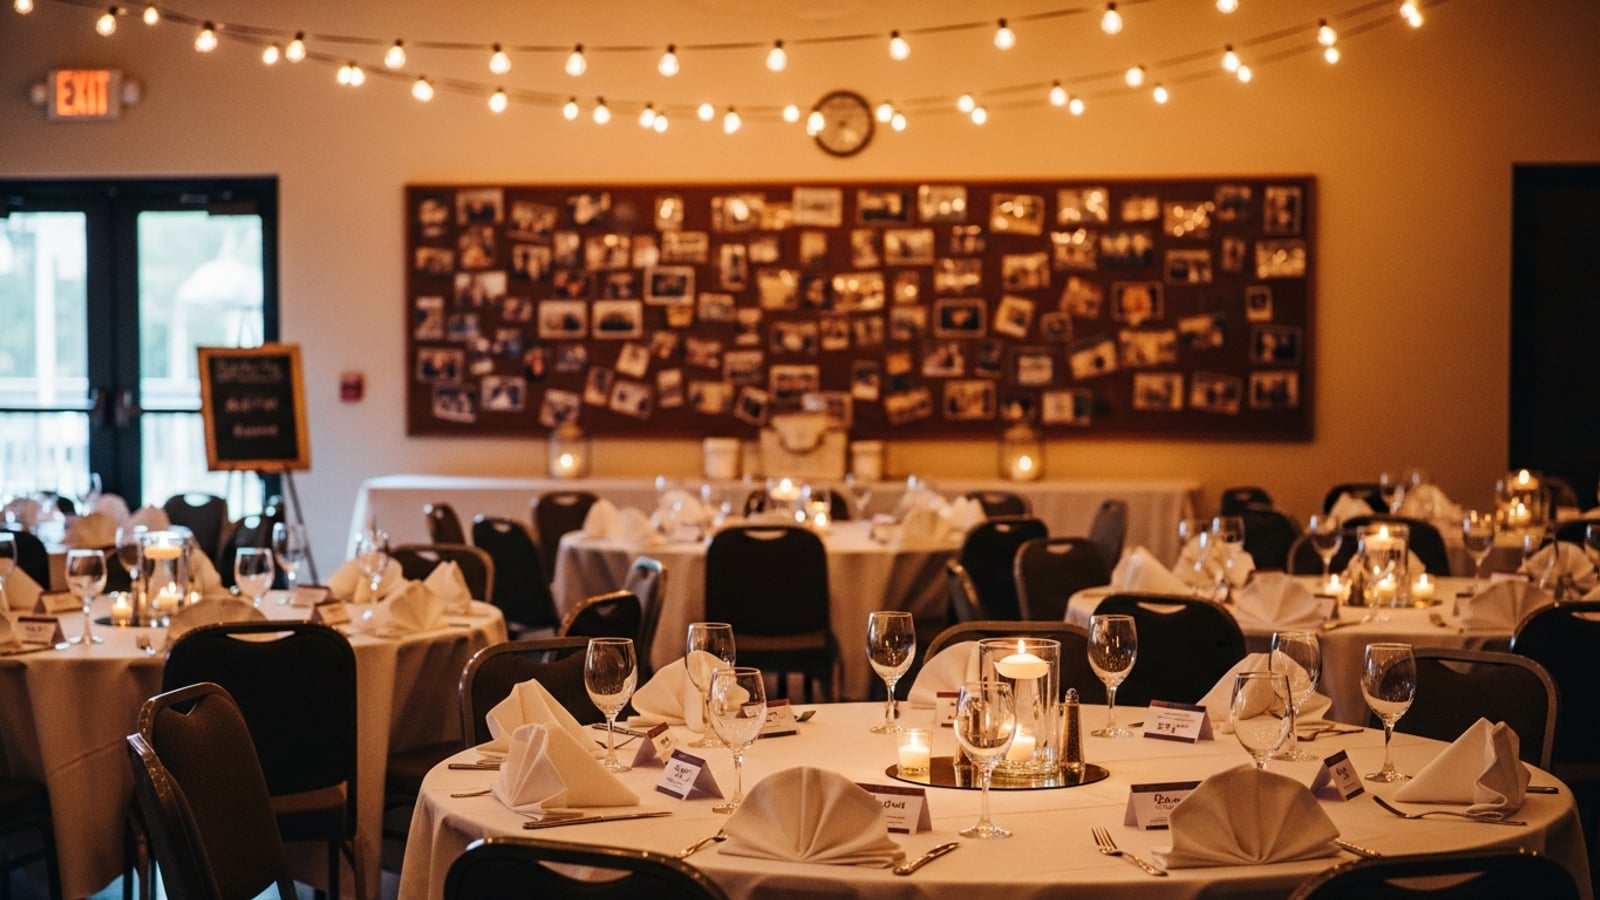
Class reunions are among the most logistically demanding events a volunteer committee will ever tackle. You are tracking down people who have moved across the country, managing headcounts for a venue booking months in advance, and trying to get busy adults to RSVP before a deadline. Done right, a reunion is one of the most meaningful events you will ever host. Done without a plan, it falls apart quietly — low turnout, surprise no-shows, and a host left holding an oversized catering bill.
Here is how to do it right.
Step 1: Form a Committee (Do Not Go It Alone)
The first rule of reunion planning is simple: no single person should run the whole thing. Recruit three to six classmates who are genuinely enthusiastic — not just people who say yes when asked. Aim for volunteers who represent different social groups and geographic locations from your class. Broader networks mean more classmates found, more tickets sold, and less work on your plate.
Assign clear roles from the start: a point person for communications, someone to own the budget and payments, someone to handle the venue search, and at least one person focused on finding missing classmates. Monthly check-ins early on, moving to every two weeks as the event approaches, keep everyone aligned.
Step 2: Set Your Timeline
The most reliable guidance from reunion planners: start 12–18 months out for milestone reunions (10th, 20th, 25th, 50th) and at least 6–9 months out for smaller or less formal gatherings. Compressing this timeline is possible, but venue availability narrows dramatically and attendance suffers when classmates do not have enough lead time to clear their calendars.
A rough phase map that works for most committees:
- 12–18 months out: Form committee, open a dedicated bank account, launch a reunion website or group, begin locating missing classmates
- 6–9 months out: Send save-the-dates, poll classmates on preferred dates, book the venue and primary vendors
- 4–6 months out: Send formal invitations, open ticket sales and RSVP collection
- 2–3 months out: Most RSVPs are in; refine headcount and finalize catering order
- 2–4 weeks out: Final vendor confirmations, name badges, printed materials
Step 3: Find Your Missing Classmates
Every committee has the same problem: a third to half of the graduating class is effectively unreachable through the contact information you started with. Work these channels systematically:
- School alumni database. Contact the alumni office or development office directly. Many maintain updated directories they will share for reunion purposes.
- Facebook. Search for "[School Name] Class of [Year]" — dedicated groups are often already active and can be a quick way to reach dozens of classmates at once.
- LinkedIn. Use the alumni search tool on your school's LinkedIn page, filtering by graduation year. Especially effective for professional-network classmates.
- Yearbook cross-reference. Pull your old yearbook and build a spreadsheet: maiden name, married name, last known city, email, phone. Tracking maiden names is essential — many classmates will search under a name the committee no longer recognizes.
- Classmates.com. A dedicated platform where people post specifically to be found by former classmates.
- Missing classmates page. Add a public "Help Us Find These Classmates" page to your reunion website. Attendees who have already registered often recognize names the committee missed.
Step 4: Choose a Venue That Fits Your Crowd
The most common choice — and often the most practical — is a hotel ballroom or dedicated banquet hall. These handle catering in-house, include built-in AV, and can scale up or down as your headcount becomes clearer. Other options that work well for class reunions:
- The original school itself — nostalgic and often available through the alumni association
- Rooftop venues — popular for summer reunions, especially in urban areas
- Outdoor pavilions or large private backyards — budget-friendly for casual or cookout-style formats
- Art galleries or loft spaces — works well for smaller classes wanting something distinctive
When touring venues, look beyond square footage. Ask about AV flexibility, lighting options, acoustics (especially for 25th reunions and beyond, where background noise starts mattering more), and whether there are separate quieter spaces for conversation alongside the main hall. June, July, and August are the most popular reunion months in the U.S., so popular venues in those months fill quickly — lock in your date before you finalize any other plans.
Step 5: Build a Realistic Budget
Most committees set a ticket price between $50 and $100 per person, with $75 as the typical sweet spot — enough to fund a meaningful event without pricing people out. That per-person figure needs to cover the venue fee, catering, beverages, entertainment, decorations, invitations, and any keepsakes or memory books.
A working budget for a seated dinner with a hosted bar typically runs $40–55 per person for food and $12–15 per person for a one-hour hosted beer and wine service. For a group of 100 people, total event costs commonly fall between $6,000 and $12,000.
One practical note: plan your catering order around attendance estimates, not your roster size. On average, about 40% of your graduating class will attend, and roughly half of those will bring a partner or guest. Even among confirmed RSVPs, expect a 10–20% day-of no-show rate — communicate your final headcount to your caterer at the lower end of confirmed numbers.
Step 6: Send Invitations That Get Responses
For milestone reunions, send save-the-dates 6–8 months before the event — more for events likely to involve travel. Formal invitations should go out 4–6 months in advance so classmates have time to request vacation days and book travel.
A complete reunion invitation includes:
- Event name (e.g., "Lincoln High School Class of 2005 — 20-Year Reunion")
- Date, start time, and end time
- Venue name and full address
- Dress code, if any
- Ticket price and what it covers (dinner, drinks, venue, photo book, name badge)
- A payment link or clear instructions for how to register
- Guest policy — whether spouses, partners, or children are welcome
- A specific RSVP deadline ("August 23rd at midnight" — not "by late August")
- A contact for questions
- A field for dietary restrictions or accessibility needs
The best reunion invitations match the tone of your class. Formal wording suits 25th, 30th, and 50th milestones. Casual or even humorous wording often works better for 10- and 20-year events. Use the same language in the invitation that people actually used in high school. See our guide on how to write an invitation that gets responses for wording templates. And check our post on when to send party invitations if you are coordinating multiple communication touchpoints.
Step 7: Collect RSVPs in One Place
Group texts, Facebook comment threads, and email chains are not RSVP systems — they are places where responses go to be forgotten. Use a dedicated RSVP link so every response lands in one place you can actually use to plan. The simplest approach: create a free RSVP page for your reunion that captures each classmate's name, whether they are bringing a guest, any special needs, and their payment status — all in one dashboard.
Set your RSVP deadline 4–6 weeks before the event, not the week before. You need that buffer to give your caterer and venue a final headcount. Once the deadline passes, send one short personal follow-up to non-responders — peer-to-peer outreach from a mutual friend converts far better than a mass email blast. See our guide on RSVP reminder wording for examples that do not come across as nagging.
Set up your class reunion RSVP page early — you can start sharing the link as soon as save-the-dates go out, even before formal invitations, so interested classmates can register on their own timeline.
Step 8: Plan Activities That Break the Ice
The most common mistake at reunions is assuming people will just... mingle. Some will. Many will find a corner with the three people they already knew and stay there. Build in structure that makes it easy for people to reconnect across social groups:
- Name badges with yearbook photos. This one change eliminates the "I know your face but not your name" awkwardness that defines the first hour of every reunion.
- Memory slideshow. Run photos on auto-advance every 8–10 seconds with names captioned. Photos without names turn into a guessing game; photos with names become a conversation starter.
- Conversation prompt cards. Place a few printed questions on each table — "Where did you end up?" "What's surprised you most since graduation?" "Best high school memory?" — to give people an easy entry point beyond small talk.
- Then-and-now photo booth. Displaying a yearbook photo next to a current photo booth shot lets people see exactly who they are talking to.
- Updated "Most Likely To" awards. A playful callback to yearbook categories ("Most Likely to Have Traveled the Most" instead of "Most Popular") keeps the energy light and inclusive.
- A curated decade playlist. Music from your graduation year is the single most reliable emotional time machine at your disposal. Hire a DJ or curate one yourself; do not leave it to a generic "hits" shuffle.
After the Reunion: Close the Loop
Within a week of the event, send a thank-you note to attendees, committee members, and vendors. Post photos to the reunion group or website promptly — memories fade fast. A quick survey asking what went well and what to do differently next time gives the next committee a head start and shows attendees their feedback matters.
And if you are reading this in the middle of planning mode rather than the aftermath: the hardest part is starting. Form the committee, launch the RSVP page, and get responses moving — everything else is logistics you can solve one step at a time.
Ready to create your event RSVP?
Build a beautiful event page in minutes. Share one link. Track every response in real time.
Create Your Free RSVP Link